My kids love ice cream. Honestly, so do I. Who could resist a sweet, cool treat on a hot summer day?
The problem with ice cream, however, is that store-bought ice cream often contains too much sugar. We make our own instead, but it takes 20 minutes of churning, plus a lot of equipment washing afterwards, so we don’t do it as much as we like.
Fortunately, Trader Joe’s comes to the rescue! These mini ice cream cones have become our household favorite. The amount of sugar is small enough for me to be comfortable with, and the size is just right for the kids to finish without making a mess.
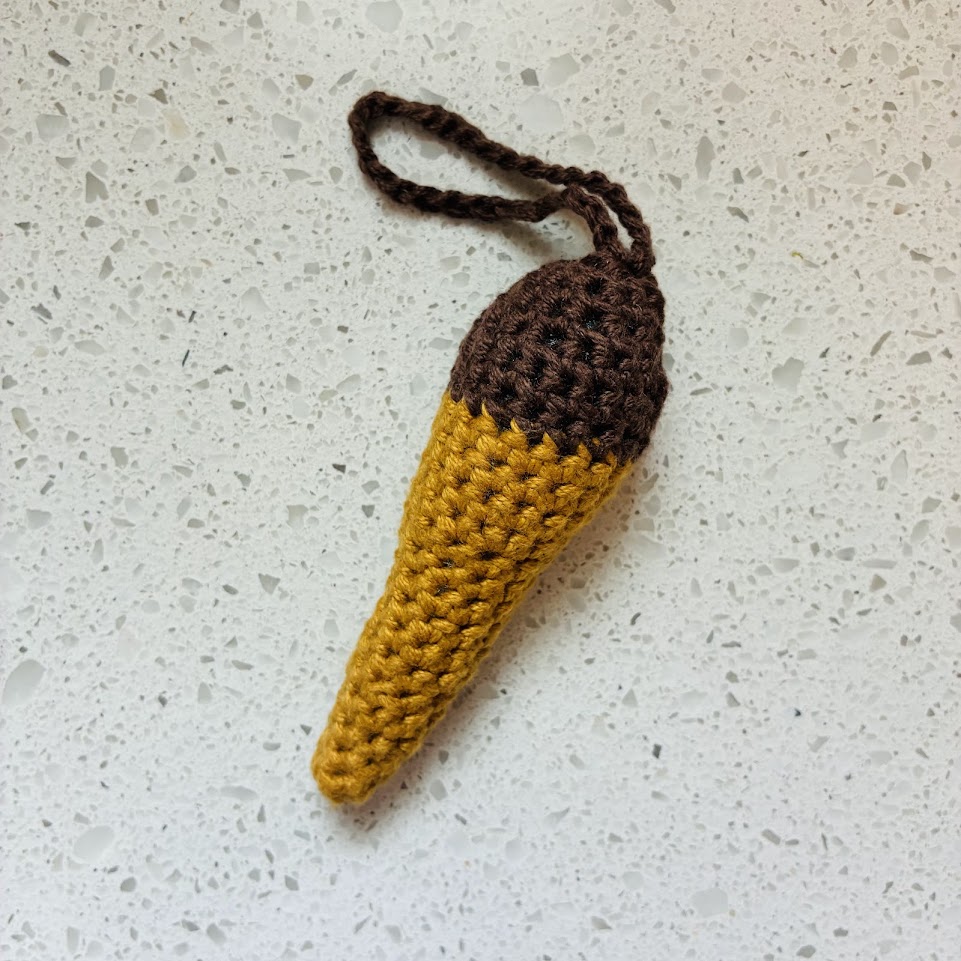
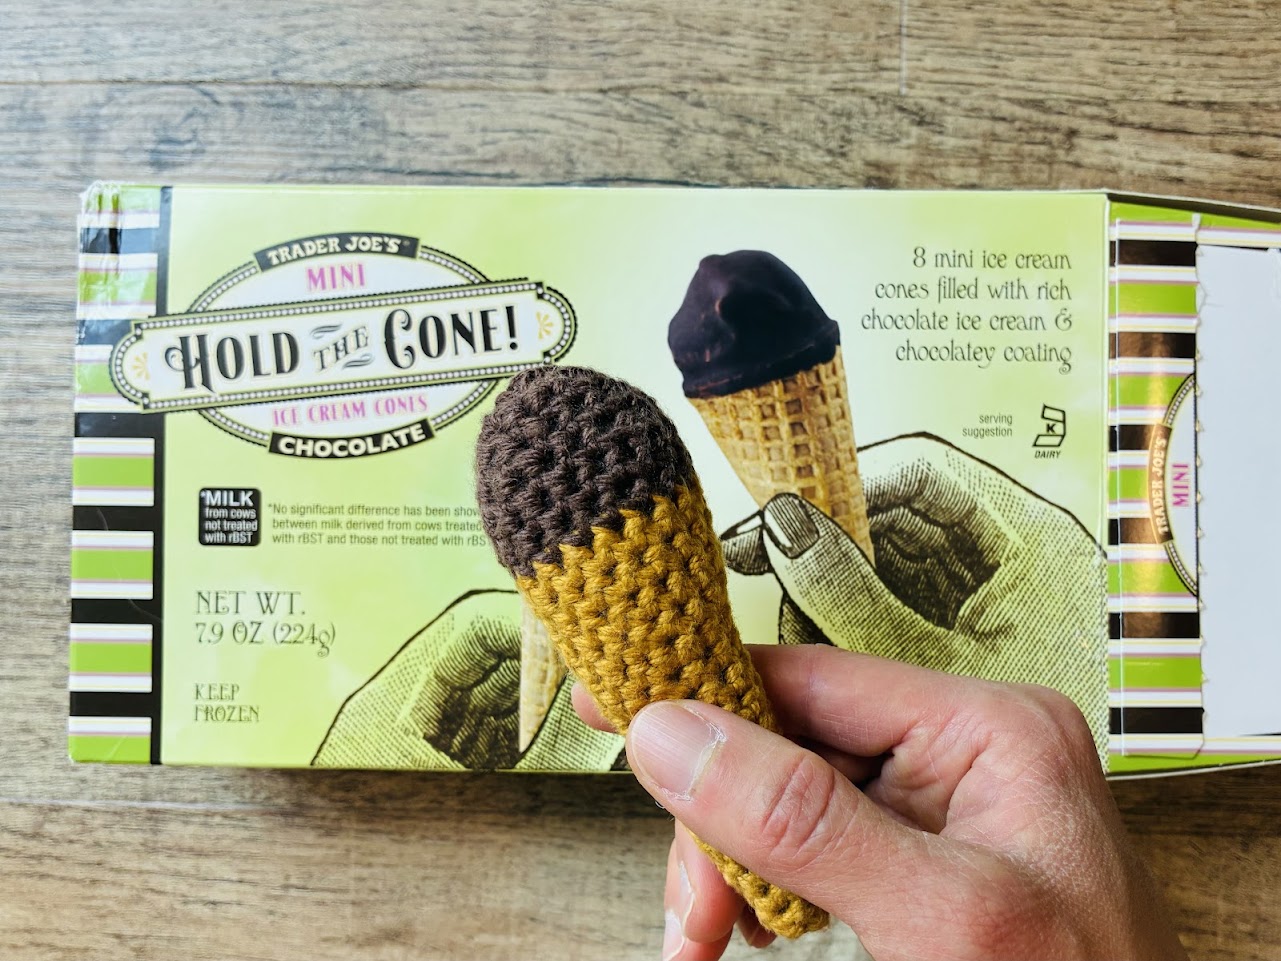
So, when some friends who lived next to Trader Joe’s invited us to dinner, I knew exactly what to bring: crocheted Hold the Cones!
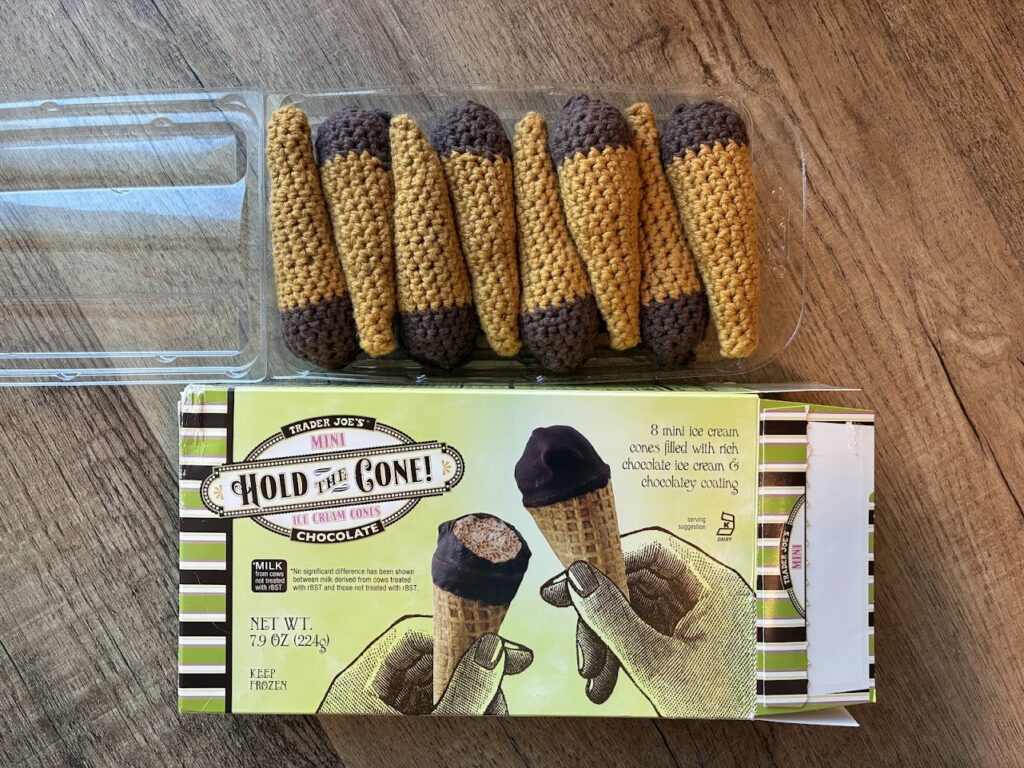
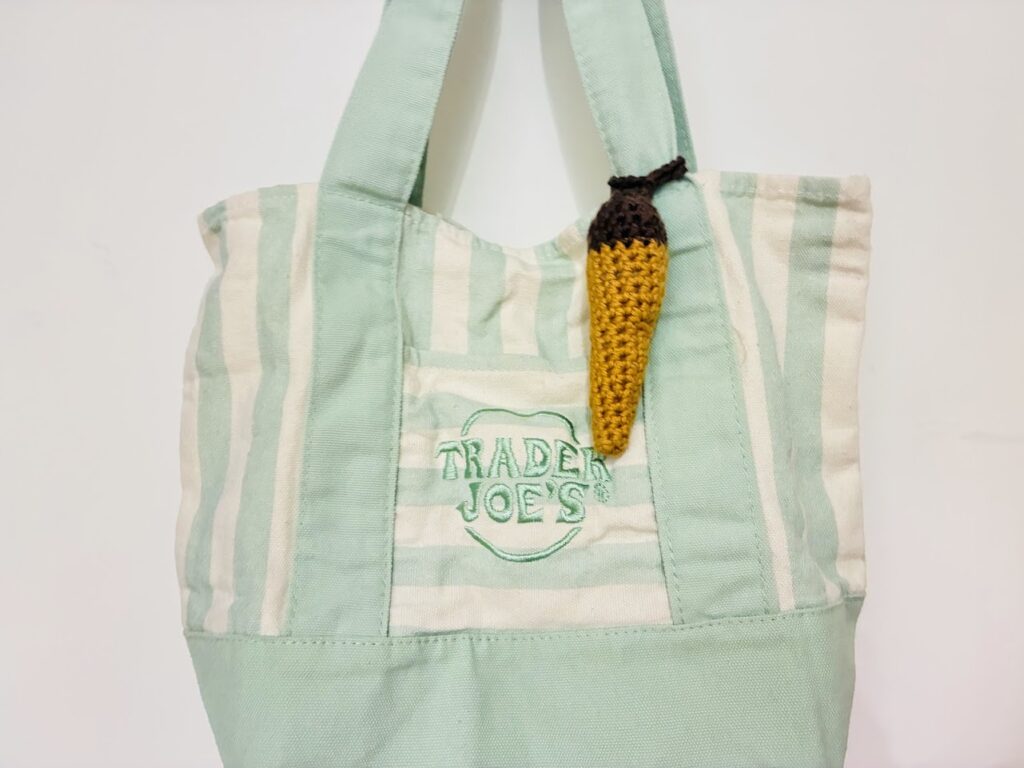
To make these more useful, I added a long loop on top and turned these into hanging ornaments perfect for handbags, drawer knobs, or even Christmas trees. These are surprisingly easy to make because of how small they are. But the “wow” factor is fun, especially when I took them straight out from real Hold the Cone packaging that I saved. The kids loved it, and the adults had a great laugh.
Of course, now my own kids wanted some too, and I had to make more. They were the perfect addition to the newly released Trader Joe’s mini beach tote. No more worrying about getting them mixed up with all the other ones that everybody else seems to be carrying around!
Materials
– 4.0mm crochet hook
– Caron All Day 100% Cotton yarn, Golden (for the cone; the lighter Jute color works too) and Coffee (for the chocolate top)
– Amigurumi stuffing (I used an old IKEA washable pillow)
– Stitch marker (I used a paper clip)
Abbreviations:
– SC = Single crochet.
– SC2TOG = Single crochet 2 together, i.e., single crochet decrease.
– St(s) = Stitch(es)
Instructions
Cone:
1. Magic circle 4 SC. Slip stitch to close the round. Keep the tail end toward you so that it will end up inside the cone.
2. Do not chain for the next round. Instead, do another slip stitch in the next stitch, followed by a SC in the same stitch. This sets you up for working continuously in the round, creating a smooth, seamless cone.
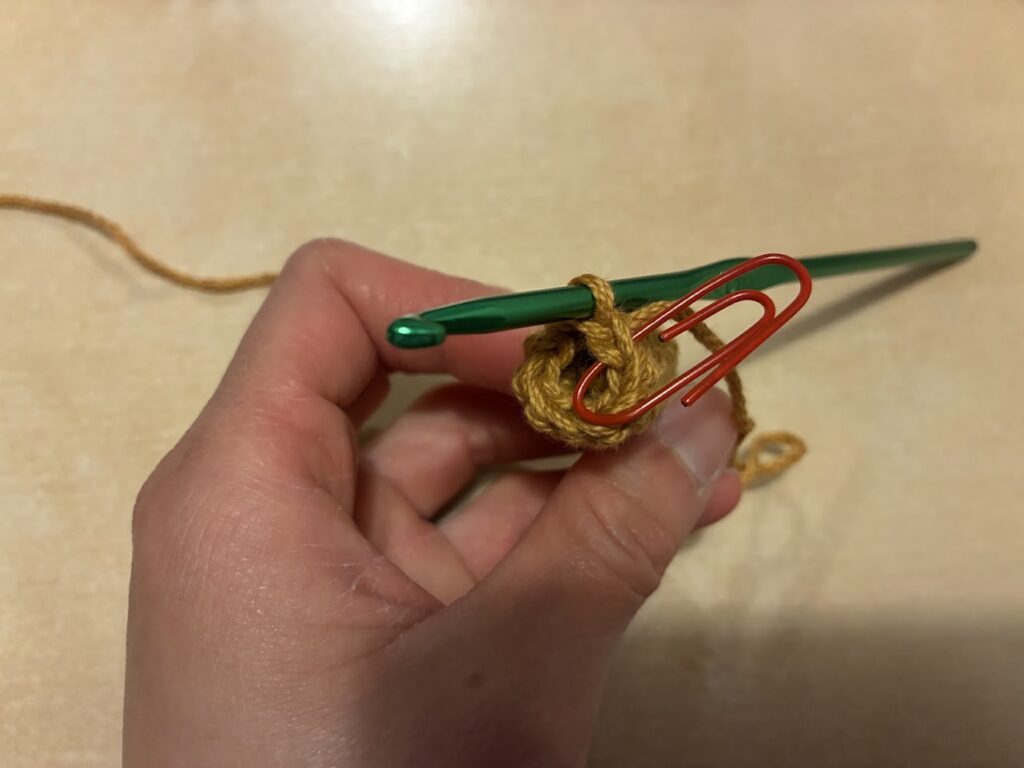
3. SC in the next two sts. Put a stitch marker in the second-to-last st, that is, the st right before the one on the hook. (See figure below for illustration.)
4. SC all around up to the stitch marker. Remove the stitch marker and do 2 SC in the marked st.
5. Repeat Steps 3-4 until the side of the cone measures 3 inches.
Top:
6. Switch to chocolate-colored yarn. (To change colors, pull the new color through in the last step of a single crochet, when there are two loops of the old color on the hook.)
7. SC all around for two rounds.
8. Fill the cone with stuffing. (Add more stuffing in the steps below as needed.)
9. In the next round, repeat SC2TOG – SC – SC – SC.
10. In the next round, repeat SC2TOG – SC – SC.
11. In the next round, repeat SC2TOG – SC.
12. SC2TOG all around until the top is closed.
13. (Optional) To make the hanging loop, chain 30. SC near the start of the chain. Tie off.